BlockAttack Part 2 - Animating a Block
In the second post of the BlockAttack series, I'm going to implement the most simple animation that I can imagine as a stepping stone towards developing a fully realized game loop that can render complex animations.
Sinced we are building a Tetris clone and we already have a red block drawn on screen from Part 1, let's focus on animating that red block from the left side of the canvas to the right side.
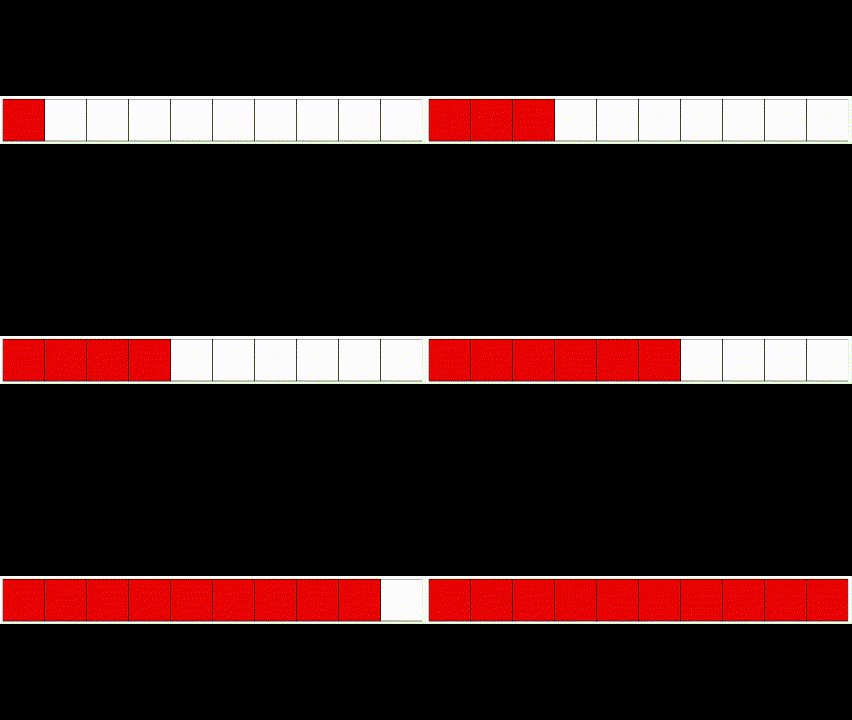
First, let's imagine that our game board is a grid of blocks with 10 horizontal blocks in each row. If we were to draw that, it would look something like this:

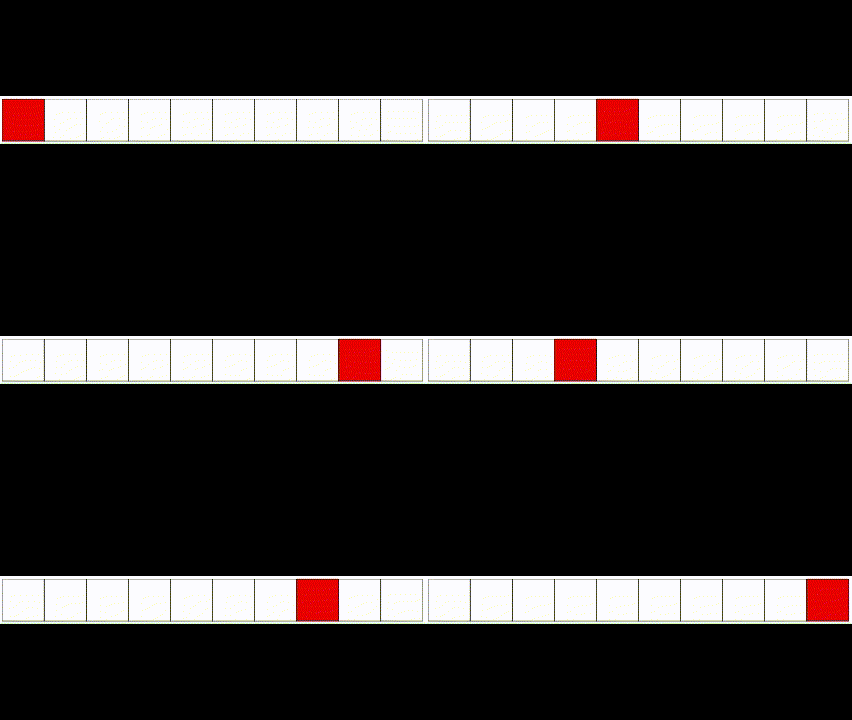
From this, we can design a coordinate system to match our game world. Starting on the left with position 0, we can say that 0 through 9 are the all the possible positions in this grid. For now we can assume that the vertical (or y) position is 0 and just talk about this first row. We can place a block in position within this game world by assigning it one of these positions. For example, if we were to assign position 4 (the fifth space starting from 0) to a single block, the game world would look like this:

In our animation exercise, we want to place a block in position 0 and then move it one grid space at a time across the board to the final position, which is 9.
Let's first think about how we would map this game board into pixel positions on the screen. We only have 10 positions but our canvas element is 800 pixels wide. We need to provide a mapping from the game world position (0-9 grid blocks) to the canvas position (0-800 pixels).
To create this mapping, let's think of the horizontal space in our canvas as 10 block spaces which are each 80 pixels wide. Our pixel-based canvas coordinate system starts in the upper left corner and the X axis increases as we go from left to right. In our grid of 80 pixel blocks, Column 0 would start at x,y position 0,0. Column 1 would then start at x,y position 80,0. Column 9 (the last column) would start at x,y position 720,0.
Using a zero based index for the grid position makes the mapping very simple. We just need to multiply the game world position by the block size to get the starting position for the block on the canvas.
You could express this as the following equation: gridX * 80 = canvasX
For our animation, we just want to show the block progressing across the game world in terms of the world grid. We don't care about animating movement across each pixel that exists between the world positions. We just want to see the block move in 80 pixel increments across the block grid.
To accomplish this movement, we can start by writing a small for loop in our BlockAttack.run() method that counts from 0 to 9 and draws a rectangle for each grid position.
blockattack.js
for (let i = 0; i < 10; i++) {
    ctx.fillStyle = "#FF0000";
    ctx.fillRect(i * 80, 0, this.blockSize, this.blockSize);

    ctx.strokeStyle = "#000000";
    ctx.strokeRect(i * 80, 0, this.blockSize, this.blockSize);
}
This code will draw 10 red blocks, but they all appear instantly and we can still see all 10 blocks when it's done. It gives us something like the output we want, but it doesn't actually animate anything. For each animation step, we are expecting to see the block disappear from its current position and appear in the next position. We expect the 10th block to be the only colored block at the end of the animation. And we expect it to happen slowly enough for us to actually watch the visual changes.
First, we will address the timing using the built-in Javascript function setTimeout(). Instead of drawing all 10 blocks instantly, we will draw a single block and then set a timeout for the next block to be drawn. This will allow us to watch each step in the animation process.
To accomplish this, we update the code to the following:
blockattack.js
run() {
    this.canvas.setAttribute('width', this.width);
    this.canvas.setAttribute('height', this.height);

    const ctx = this.canvas.getContext("2d");

    for (let i = 0; i < 10; i++) {
        ctx.strokeStyle = "#000000";
        ctx.strokeRect(i * 80, 0, this.blockSize, this.blockSize);
    }

    setTimeout(() => this.drawBlock(0), 0);
}

drawBlock(gridX) {
    const ctx = this.canvas.getContext("2d");
    ctx.fillStyle = "#FF0000";
    ctx.fillRect(gridX * 80, 0, this.blockSize, this.blockSize);
    ctx.strokeStyle = "#000000";
    ctx.strokeRect(gridX * 80, 0, this.blockSize, this.blockSize);

    if (gridX < 10) {
        setTimeout(() => this.drawBlock(gridX + 1), 1000);
    }
}
Let's dissect the changes to the run() method. We still draw the black grid first because that allows us to view the empty block spaces. Then, we call setTimeout with a 0 delay and pass in an arrow function which calls back to the new drawBlock method. The reason we use an arrow function here is to avoid issues which occur with the "this" keyword when using setTimeout.
We pass 0 as the gridX parameter to drawBlock() and this new method handles the responsibility of drawing the red block and then re-drawing the stroke over top of it. Then, if our gridX value is between 0 and 9, we set another timeout (this time for 1000ms) to call drawBlock again with the next gridX position. This line setTimeout(() => this.drawBlock(gridX + 1), 1000); sets the timeout and increments the gridX position by passing gridX + 1 into the next callback. Again, because we use arrow functions, the "this" keyword remains bound to our BlockAttack object instance.
The reason we use setTimeout instead of writing a loop that waits for 1000 seconds is that Javascript is single threaded in the browser. If we write a loop that does not exit, it will lock up the browser user interface. Calling setTimeout allows us to return the thread to the browser while we are waiting for the next execution to run.
The output for this code will draw the first red block immediately, and then pause for about 1 second before drawing the next block. It will do this until we reach position 9, the last position in our world grid.

If you run this code, you will notice that all red blocks remain on the screen. The canvas retains all the graphics that are drawn to it unless it is manually cleared. In some cases we might want to only clear a part of the canvas, but it is very common in game development to clear the entire screen and redraw the scene every frame. You can imagine that if you were building a first-person game, each frame would likely be subtly different as the player moves through the game world and the objects in the player's field of view are updated.
For our current purposes, clearing and redrawing the scene is fine. For each "frame" in our animation we will perform the following steps:
- Clear the canvas
- Draw the black grid strokes
- Draw the current position of the red block
We can now update the code to match our list above and decrease the setTimeout delay to 100ms to give a faster appearance to our animation.
blockattack.js
"use strict";

class BlockAttack {
    width = 800;
    height = 800;
    blockSize = 80;

    constructor(canvas) {
        this.canvas = canvas;
    }

    run() {
        this.canvas.setAttribute('width', this.width);
        this.canvas.setAttribute('height', this.height);

        setTimeout(() => this.drawFrame(0), 0);
    }

    drawFrame(gridX) {
        const ctx = this.canvas.getContext("2d");

        // Clear the canvas
        ctx.clearRect(0, 0, this.width, this.height);

        // Draw the black grid strokes
        for (let i = 0; i < 10; i++) {
            ctx.strokeStyle = "#000000";
            ctx.strokeRect(i * 80, 0, this.blockSize, this.blockSize);
        }

        // Draw the current position of the red block
        ctx.fillStyle = "#FF0000";
        ctx.fillRect(gridX * 80, 0, this.blockSize, this.blockSize);
        ctx.strokeStyle = "#000000";
        ctx.strokeRect(gridX * 80, 0, this.blockSize, this.blockSize);

        const nextGridX = (gridX < 9) ? gridX + 1 : 0;
        setTimeout(() => this.drawFrame(nextGridX), 100);
    }
}
The drawBlock method has been renamed to drawFrame since it is drawing everything in the frame, including the black stroke grid background. The comments in drawFrame match with the list above to point our where each step in the frame drawing is occurring.
The gridX increment logic has been updated to wrap back around to 0 once the gridX reaches 9. This allows the animation to run indefinitely in a loop moving from 0 to 9 and then back to 0.
Lastly, we decrease the delay value of setTimeout from 1000ms to 100ms to make the animation rate faster.

I think we are at a good stopping point now. We have added an extremely simple (and naive) animation loop. It serves our current purpose, which is to build a stepping stone of simple animation that will help us move toward a more complex game loop. This drawFrame approach will not serve us as a generalized game loop but it gives us a starting point from which to extract and decouple the various concerns involved in performing animation.
In the next post, we will use the built-in Javascript function requestAnimationFrame() to set up a general game loop and look at separating the state of our game from the presentation of that state.
BlockAttack Repository commit for this blog post.
Thank you for reading!