BlockAttack Part 1 - Getting Started
This is the first post in a series where I will document the development of a Tetris clone using Plain Javascript. I've attempted this before but never finished the series. This is a fresh start and I'll be writing all code from scratch.
I'm doing this to gain more experience in game development. Game Development is quite different from the business information system development that I typically do in my day job. I find it helpful for my current and future self to document the development process and the thoughts that drive specific important decisions during that process. It also gives me an opportunity to share the experience with anyone who might come across this blog. Finally, I'll be grateful if I'm able to produce something that can serve as a learning guide or tutorial to anyone else out there. Since I'm not an expert on game programming or even Javascript (despite using it off-and-on for many years), I'm approaching this as an exploratory learning opportunity for myself and also a potential tutorial for others that find the information valuable.
I'm not enforcing a lot of requirements on myself since I want to keep this series conversational and flexible. The goal here is to build a Tetris clone by starting very small and growing the feature set incrementally. It won't start out as anything which is recognizable as a video game but hopefully it will end up with a full featured version of a single player game.
We will start with a few basics:
- Our Tetris clone will be called BlockAttack
- GitHub will be used for source control.
- The game will run in a modern browser such as Firefox, Chrome, or Edge.
- Plain ES6 Javascript (aka Vanilla Javascript) will be the implementation language. ES6 features will be used extensively, so a browser that supports ES6 will be required.
- Each increment of the game will be accompanied by a blog post journaling the changes made and decisions which were made.
With those basics out of the way, let's get started putting together a starting point for our development.
First, let's look at a starter HTML document and call it index.html. This will be the "homepage" where we will initalize and run the game code.
index.html
<!DOCTYPE html>
<html lang="en">
<head>
    <meta charset="utf-8">
    <title>BlockAttack</title>
    <script src="blockattack.js"></script>
</head>
<body>
    <canvas id="gameCanvas"></canvas>

    <script>
        // Here we will initialize the game code
    </script>
</body>
</html>
This document covers the minimal HTML structure that is required. It's a complete and valid HTML document. Reviewing the document from top to bottom, there are a few key pieces which warrant further description.
First, notice the <script> tag that includes blockattack.js. This is a Javascript file which we will move to next, and will contain the code which runs the game.
Next, notice the <canvas> element which gives us an HTML element to draw on with the Canvas API. We will use the Canvas API extensively to draw the graphics that our code generates.
Lastly, there is an empty <script> element at the bottom of the <body> tag which is currently a placeholder. This will be our place to initialize the game code and run the game. We will revisit this script tag after we have implemented the entry point of our game logic in blockattack.js
Next, let's look at a basic starter file for our BlockAttack game code in blockattack.js
blockattack.js
class BlockAttack {
    width = 800;
    height = 800;
    blockSize = 80;

    constructor(canvas) {
        this.canvas = canvas;
    }

    run() {
        this.canvas.setAttribute('width', this.width);
        this.canvas.setAttribute('height', this.height);

        const ctx = this.canvas.getContext("2d");

        ctx.strokeStyle = "#000000";
        ctx.strokeRect(0, 0, this.width, this.height);

        ctx.fillStyle = "#FF0000";
        ctx.fillRect(0, 0, this.blockSize, this.blockSize);
    }
}
We have a single class in this file which first declares a few member variables: width, height, and block size. Next, we see a constructor which takes a canvas element on instantiation. We pass in a canvas element because the canvas element is not created or owned by the game logic. It's created in the HTML document and then used by the game logic. Right now i wanted to keep any HTML element creation out of the game logic. We will see if this changes in the future.
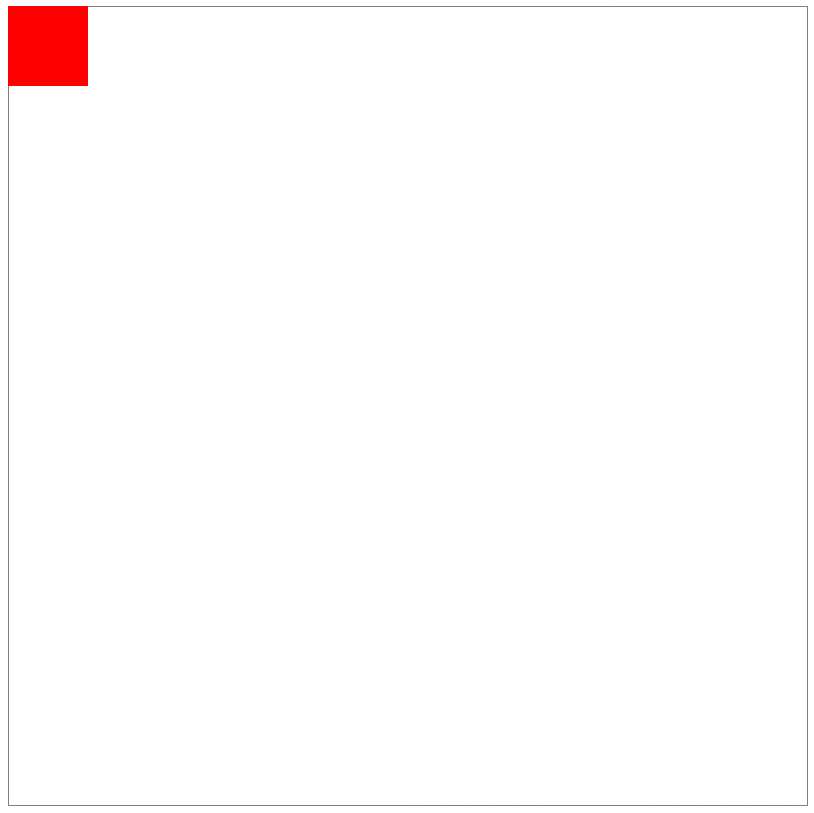
Finally, we have a run() method which does some basic initialization and draws a couple graphical shapes. First, it uses the predefined member variables to set the canvas width and height. Then, it uses the Canvas API to draw a black stroke around the entire canvas and then draws a filled rectangle in the upper left corner. The call to canvas.getContext("2d") gives us a context object, which is the primary drawing interface for the Canvas API. ctx.strokeStyle and ctx.fillStyle control the color code that is used to perform strokeRect and fillRect, respectively.
This class doesn't do anything for us yet because it is not instantiated anywhere and run() is never called. We will implement that code in our <script> placeholder from index.html. That script block now becomes:
index.html
<script>
    const gameCanvas = document.getElementById('gameCanvas');
    const blockAttack = new BlockAttack(gameCanvas);

    blockAttack.run();
</script>
With this last addition, our browser runs the game code and we can see the graphical output on the canvas object in the index.html document. When running the code you should see the following screen:

Pretty simple, but also a pretty good place to start with this project. We have a simple framework for adding more features and we already have graphics on the screen. I think this is a good stopping point because the next increment will be quite involved and introduce several new concepts to our game logic.
In the next post, we will animate the red block and implement our initial game loop.
Please use the following links to explore and clone the code
Thank you for reading!